Question: What should I know about flying the American flag at home?
Answer: Flying an American flag is not as simple as just sending it up a flagpole.
Per the U.S. Flag Code:
It’s best to display the U.S. flag only from sunrise to sunset outside. It can be on view 24 hours a day. Per the Flag Code, the flag must be illuminated. Add a solar light with a kit for flag poles.
In rain or snow, a flag can still be flown if it is made of all-weather material. Take it down before a storm to prevent the flag from blowing out of its bracket.
A soiled flag can be washed or dry-cleaned. When it gets too tattered to display, it should be destroyed properly, preferably by burning. American Legion posts and other groups sometimes dispose of damaged flags in special ceremonies. Stars for Our Troops (starsforourtroops.org) will take worn American flags with embroidered stars.
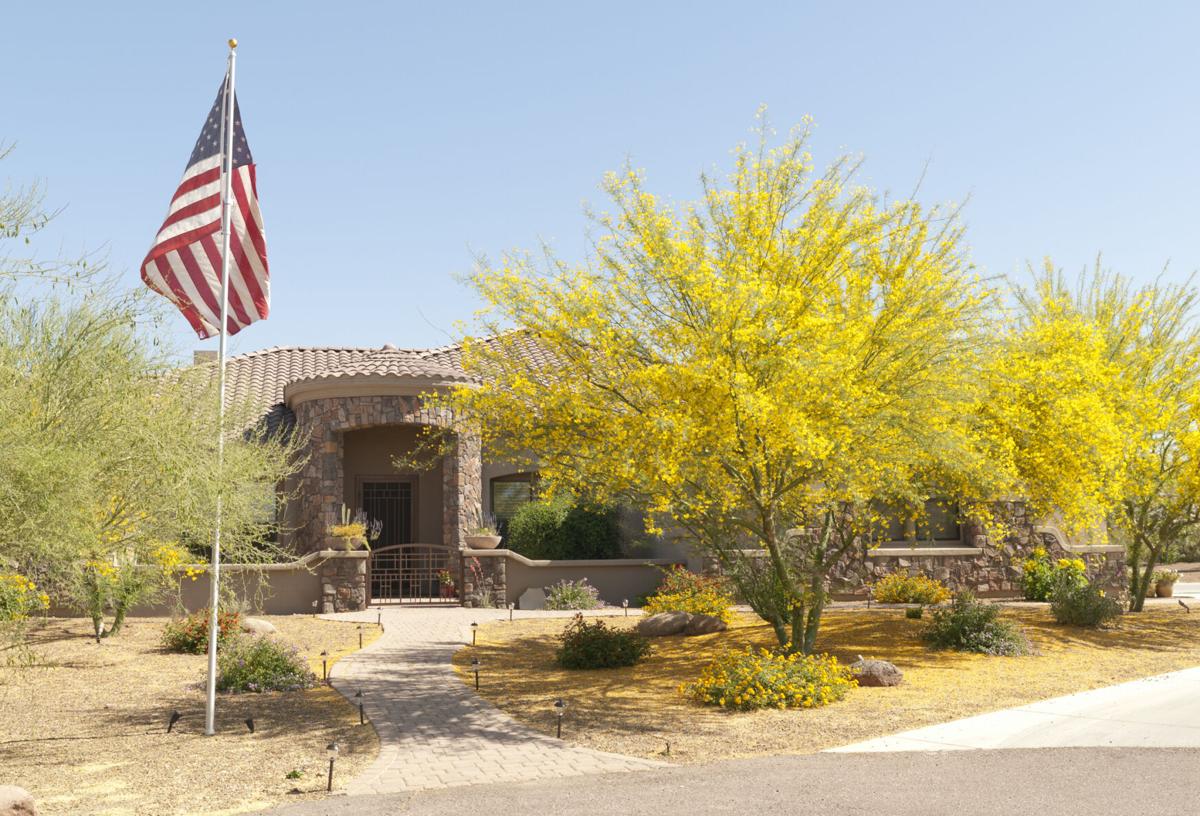
Q: What are the respectful ways I can fly the American flag at home, and how do I do it?
A: First, check with your HOA or complex. They may have specific requirements.
To fly a flag from the eave, install a bracket to hang the flag on a short pole. Position the bracket where you want it. Make the screw holes with a pencil. Then drill the holes using the right bit for a power drill depending on whether your home is masonry or stucco.
If you live in an apartment or condominium, hang it from a wall or window so the stripes are displayed vertically or horizontally. The blue field with the stars should be at the top on your left as you stand outside the house or building and view the flag.
First, you need to understand the components:
Finial: A decorative ornament mounted on top of the flagpole, above the truck.
Truck: This is the pulley assembly that mounts at the top of the flagpole. Stationary trucks are mounted over the top of the flagpole and are secured with setscrews while revolving trucks screw into the flagpole’s top with a standard 1¼ inch national pipe thread spindle. Revolving trucks are mounted with bearings that allow them to turn along with prevailing winds.
Snaphook: Also referred to as a flag snap, this metal or vinyl hook with a spring closure attaches the flag to the halyard. Snaphooks are similar to closures found on a dog’s leash.
Halyard channel: Usually several feet long, it extends upward from the cleat, covering the external halyard and helping protect against theft or vandalism.
Halyard: The rope that is used to raise or lower the flag. Can be located internally or on the outside of the pole. It runs through the pulley system in the flagpole’s truck and is secured with the cleat at the base of the pole.
Cleat: A T-shaped metal device that holds the hoisted flag in place by wrapping the halyard around the cleat multiple times. The cleat is typically mounted to the pole about five feet above ground level.
Butt: The larger, lower end of the flagpole shaft.
Flash collar: A cover that goes around the base of the pole at ground level, usually the same color and material as the flagpole. A flash collar gives the pole a clean, finished look and helps protect the flagpole and foundation from the elements.
Foundation tube: A steel or PVC tube placed in the ground to support and hold the shaft securely in place.
Now that you know the terminology, decide where the pole will be placed. Assemble a mock-up with PVC pipe and couplers. Have someone hold up the pole in various spots so you can judge the effect from afar. Consider the height of the house or building when selecting the pole’s height: 18 to 25 feet for a single-story building, 25 to 30 feet for two stories, and 30 to 40 feet for three stories.
Types of poles
Wood: Historically authentic and the most expensive option. Like the wood on the exterior of your house, it must withstand the elements for a long time and therefore requires regular maintenance.
Standard aluminum: Light, easy to install and available with internal rigging. Some painted aluminum poles chip, leaving uncoated spots that may stain. Select a durable finish with a clear-coated brushed metal.
Fiberglass: Look for a UV-resistant finish constructed with the fibers running vertically.
Telescoping aluminum: Has retracting buttons and joints and is easily portable. Putting them up and taking them down takes just a few minutes.
Tools and materials
Post hole digger
Wheelbarrow
Shovel
Level
Sawhorses
Drill/driver
Drill bit
Ratchet wrench and sockets
Work gloves
Installation
1. Dig a foundation for the anchor
The day before installation, dig a foundation hole 30 inches deep and 24 inches in diameter, using a post-hole digger and shovel. This will hold the painted steel anchor, which supports the pole and prevents ground moisture from wicking up and rotting the wood.
For soil that doesn’t drain well, add 6 inches of gravel or crushed rock to the bottom of the hole you dug.
Following the instructions on the bag, mix a batch of Redi-Mix cement. It will take several bags. Fill in around the base of the pole (roughly 6 inches of concrete). Let it set per the mix’s instructions, then drop in the anchor.
Allow the concrete to set for at least two days (one week is better) before using the pole.
Check the anchor’s alignment using an 18-inch bubble level or laser level, then fill the hole with concrete and trowel it until it is smooth.
2. Drill holes for the pivot bolt
After the concrete has set for 24 hours, rest the pole on two padded sawhorses.
Center the cleat on the pole’s halyard side by measuring 42 inches from the bottom.
Using an 11/16-inch bit, drill holes for two ⅝-inch bolts.
3. Attach the finial
To affix the truck, set the double sheave into a notch on the top of the pole.
Before screwing the truck on, coat the inside and edges with silicone caulking for a watertight seal.
Fit the finial into a ½-inch threaded hole in the center of the truck.
4. Install the pole
Set the pole into the anchor and insert the pivot bolt. Adjust the pole until it is plumb, checking how it looks from afar.
Holding the preferred position, mark the pole at the predrilled holes on the anchor. Remove the pole, rest it on the padded sawhorses, and drill holes for the locking bolt.
Insert the pole into the anchor and install the pivot bolt.
Install the locking bolt and finger-tighten it. Check to make sure the pole is plumb.
5. Attach the flag
Thank you to This Old House and Carrot-Top Industries for this information.
You may find it helpful to read the laws about flying the American flag, including “Conduct during hoisting, lowering or passing of flag” in Section 9 of the Flag Code at tucne.ws/1nqf.
Using fireworks this 4th of July? Being aware of local and state laws is just one important thing to remember. Watch for facts, tips and tricks provided by the National Association of State Fire Marshals. Video by Pascal Albright / Arizona Daily Star.