Drip irrigation systems are probably the most efficient for our climate, but they do require some periodic maintenance. It’s pretty easy to do this maintenance yourself, and it won’t take long. It will help ensure that your plants are getting the water they need, and that you’re not wasting any water due to leaks and non-functioning emitters. To make your maintenance easier, don’t plant any delicate, large or spiny plants near the valve box or your water meter, and move or trim back any such plants if they are in your way.
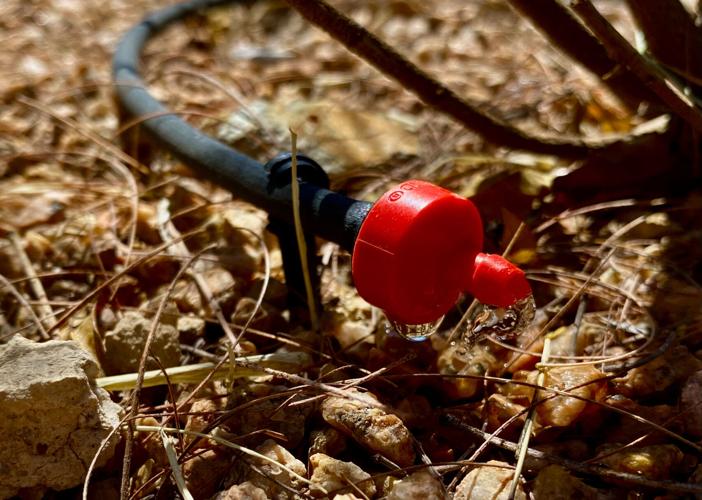
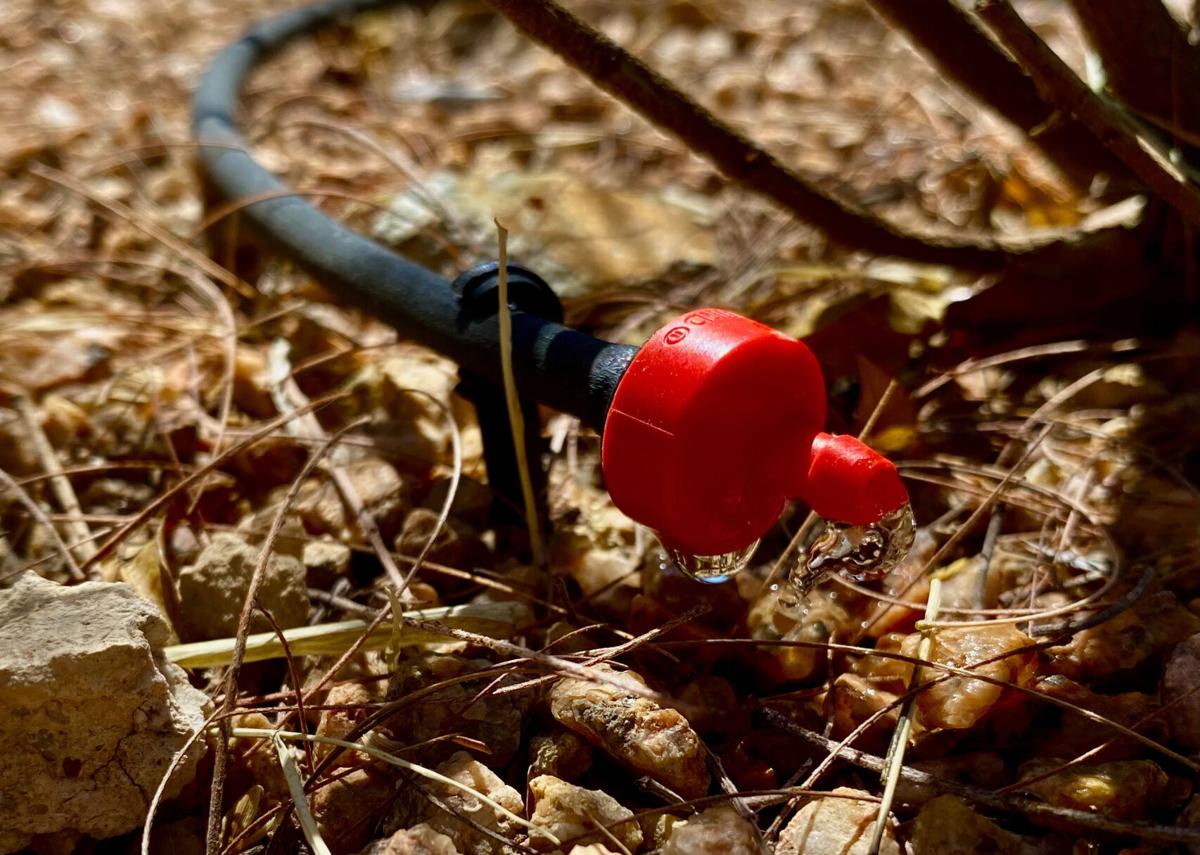
If you’re unfamiliar with the components of a drip system, check out my article “Irrigation tips for desert gardens.” The first thing to do is to run your drip system and walk the entire length of it, making sure each emitter is going to its appropriate plant and working correctly. You can get a gist of whether there is any blockage as it's running by looking at how quickly the water drips out of the emitter or the microtubing. While you’re doing this, keep an eye out for missing emitters, chewed microtubing, or tubing going to the wrong plant.
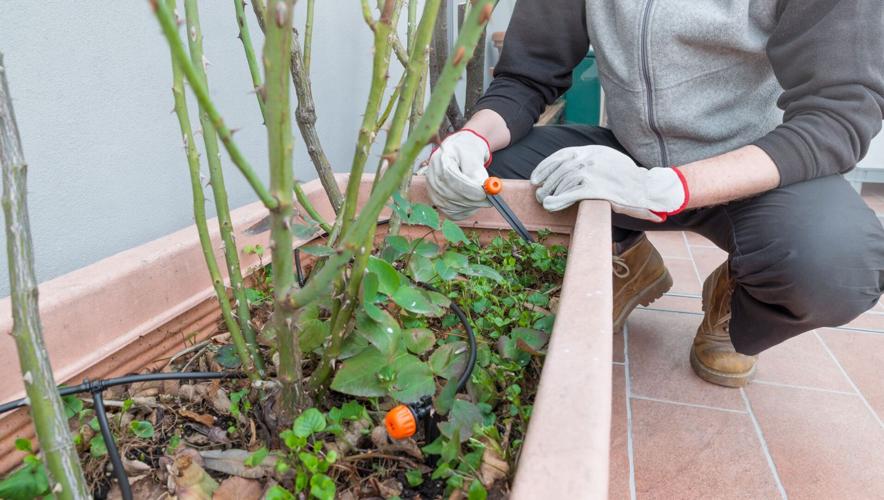
You will want to repair any issues you see. Most hardware stores sell repair kits, and specify which systems they work with. Make sure you know the size of your supply tubing. This is the black or brown PVC hose that’s usually called ½ inch; however it comes in various outside diameter sizes (0.620 inch, 0.700 inch, and 0.710 inch) and your fittings need to match the size you have. If you’re not sure of the size, you can take a small sample of it with you to the hardware store to see what fittings match it. Your supply tubing may also come in other sizes but the so-called ½ inch is most common. Check out this resource to learn more about drip irrigation tubing sizes.

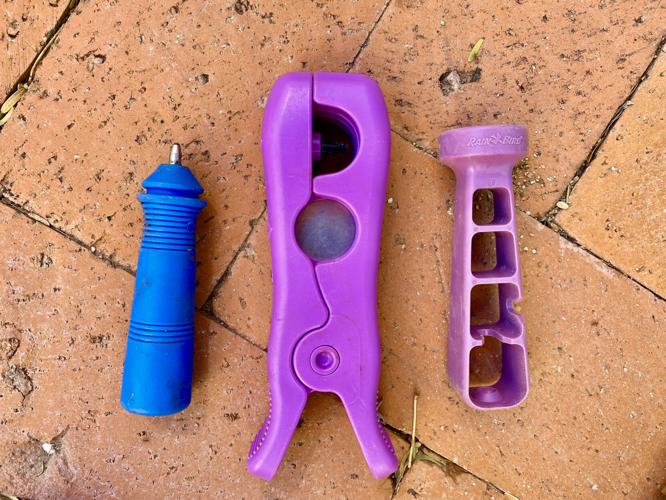
These three tools are a must-have for installing or fixing a drip irrigation system. The hole puncher (left) makes holes in the PVC tubing for inserting microtubing; the cutting tool (center) allows for easy cutting of the PVC tubing, and the tool on the right gives you more leverage when trying to insert fittings or adaptors.
Keep in mind that the standard 1/2 inch PVC tubing shouldn't run more than 200 feet from the water supply line, and should not have more than 200 gallons per hour of flow installed in it. This is called the 200/200 rule. If you break this rule, your system will have too much friction in it, which will prevent consistent water delivery. You may see plants that don't thrive because they're not getting consistent water flow.
Fortunately, the microtubing is pretty standard 1/4 inch (although it also comes in ⅛ inch). It tends to be more flexible and easier to work with than the supply tubing. Some other items you may need to fix your drip system include PVC cutting tools, extra drip emitters in various sizes, and goof plugs (for fixing mistakes and getting rid of drip lines to plants that no longer need them). All of the PVC products are easier to work with if they’re warmed up, but if they’re left out in the sun they get really hot.
Once you’ve done the walk-through and fixed any obvious issues, the next step is to check your filter. This is found in the valve box. Make sure to check the valve box carefully for critters before reaching in. Snakes, scorpions, and other biting animals may be hiding in there because it’s cool and dark.
The filter compartment is usually sticking out towards you and is unscrewed from the plumbing in the valve box. Most filters are metal, and can simply be hosed off. When you have the filter off, you can flush the system out with your garden hose. This is good practice anytime you do repairs on your system, to ensure that soil and other particles haven’t gotten into the system. During the flush, walk around again and make sure all emitters are working. Replace your filter after cleaning and flushing, and replace the cover on the valve box.
While you’re checking your valve box, look for any signs of a leak. You can also see if there’s a leak by checking your water bill carefully and comparing your bills from the same time period last year. Also look for any rapid or steady increases in your water usage that you can't explain. The City of Tucson has a handy page that explains how you can use your water meter to detect leaks.
If you’re concerned about the efficiency of your irrigation system, you can request a water use audit from Tucson Water. They will evaluate all of your appliances and check your indoor and outdoor water usage, then make suggestions on how you can be more water efficient. Keep in mind you can always supplement your backyard irrigation with grey water and rainwater harvesting.


