Q: I have seen some great looking backsplashes in design magazines. What would it take to redo the backsplash in my kitchen?
A: First, consider the possibilities! Once upon a time, a backsplash amounted to a few extra rows of tile installed in a kitchen above the cooktop or the sink. It was a way to keep food or water from splashing up on bare walls. But the past few years, backsplash has become a tempting “kitchen canvas” where homeowners and kitchen designers try out exciting ideas.
Some ideas we have seen posted online include mosaic murals and tiles that seem covered in gold, silver or copper. Other ideas include huge mirrors, 3D-style tiles that make you want to reach out and touch them and shiny sheets of what looks like quartz, marble or granite. Luxury vinyl planks and large sheets of colored glass are also used as backsplashes.
Backsplash has become a tempting “kitchen canvas.”
Colorful designs can be mosaic in style depicting landscape scenes, abstract designs or designs that simply but elegantly feature the tiles’ own beauty.
In other words, your imagination is the limit to creating a unique backsplash!
Here are some questions you can ask yourself as you design your backsplash:
How big of an area do I want to cover?
Almost all kitchens built today have at least a 4-inch mini backsplash above the counters — all the way around the kitchen walls. Often, this small backsplash is on top of counters and is usually the same material as the counter itself. Larger backsplashes are used above the cooktop and sometimes the sink. They run from the range or sink up to where the cabinets start.
What is my budget for this project?
Price is based on how much tile you need and what type of material you choose. The price of any given material can be determined by measuring the square footage of the area as all materials are sold by the square foot.
Be sure to add 15% more product than you measured for to allow for cuts and waste (if there is a lot of cutting, you may need up to 30% more than the measured square footage).
Check pricing before you get too attached to those beautiful tiles! You can save money by doing the project yourself (see tips below) and watching for deals on materials. Because a backsplash is a relatively small space it can be done reasonably with flair!
What kinds of materials can be used on my backsplash?
Using earthy and natural materials such as brick and stone make a design statement of their own. Brick can exude a rustic impression, while a polished or glazed brick might give your backsplash an elegant feel.
Ceramic tiles are a popular choice for backsplashes. Choices of color, style, shape and pattern can really make a kitchen design pop. Glass and metal tiles can be used to create colorful patterns alone or in a ceramic tile pattern or design.
Stone, like brick, can give similar impressions. There are a lot of different products to choose from. A common use of stone is to use it as an extension of the granite countertop, up the wall and all the way to the underside of the cabinets. Marble and other polished stone materials are good choices as well.
What kinds of surfaces make the best choices?
The best choices for a backsplash are materials that are easiest to clean.
Remember that the more porous a surface is, the harder it will be to keep it clean. Most products can be sealed, however, sealing is a regular maintenance job.
We know a homeowner who ended up using real stone in a backsplash but didn’t have it sealed. On the very first night she cooked in her new kitchen, she made spaghetti and wrecked the backsplash!
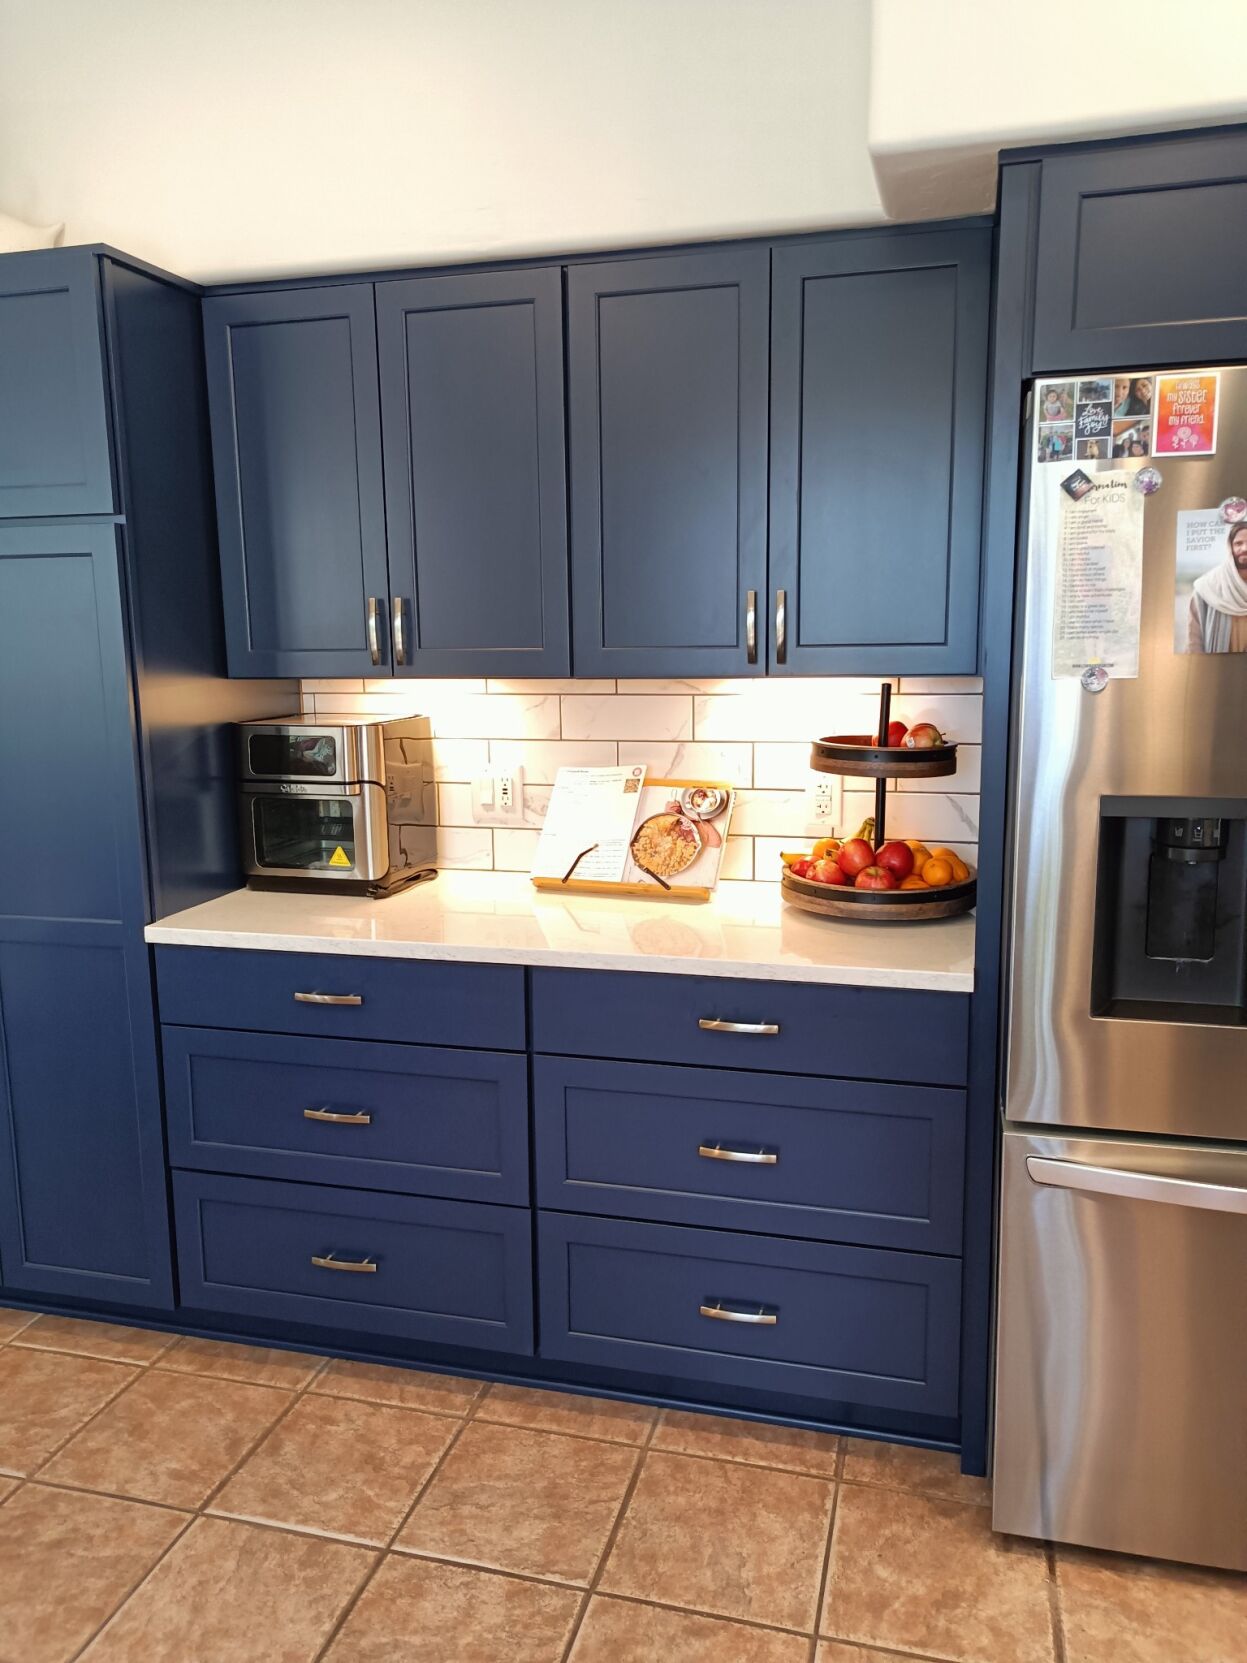
Grout can be a cleaning nightmare. The narrower the grout line (the space between tiles), the easier it will be to keep clean. To avoid problems with stains, you can also seal the grout between the tiles. One popular look is white subway tiles with black or dark grout — a technique that eliminates the threat of staining grout.
Do I want to add light to my backsplash?
The addition of lighting helps to better display your backsplash. Lighting strips for use beneath the cabinets and above the countertop come in easy-to-install strips. You’ll also want to have all outlets and switches perfectly lined up with each other and located in the right places.
What if there is already a backsplash in place?
If you want to remove a backsplash you don’t like anymore, you may wreck the drywall underneath it. If it is a small repair, you can likely do it yourself. If there is a lot of damage, allow for the drywall repair in your budget.
Can I use a contrasting color for my backsplash?
If the backsplash materials on the walls are colorful, you want the countertops to be more neutral. It’s a good idea to buy a small amount of the material you plan on using and observe it next to the other materials already in your kitchen before spending the money on the whole project. Watch how the product interacts with your décor different times of day as the light changes.
Of course, it’s important to choose carefully, but most of all when you’re doing a beautiful backsplash, it is an opportunity to have fun and get creative.
Is installing a backsplash a good DIY project?
Before you even start your project, visit a tile showroom for inspiration and ask lots of questions. If you want to do something dramatic or complicated, you’re probably better off having an expert craftsperson install your backsplash.
It’s easy to install tile on a cleaned-up, painted wall surface behind counters, sink and range in your kitchen.
First, remove any wallpaper. Then, sand the surface and clean up dust. Easiest to work with are mesh-backed sheets of mosaic glass or ceramic tiles. Measure your space to estimate how many sheets to buy.
If you haven’t ever laid tile before, you could practice setting a few rows of tile on scraps of wood until you can get experienced with grout lines.
When you get the tiles home, measure the area again. Then, use masking tape to outline the size and shape of the wall you are covering on a large piece of cardboard laid on the kitchen floor. Lay down the mesh sheets of tiles on that cardboard “map” to see how they will fit the space outlined on the cardboard.
In some cases, you must fill odd gaps with partial sheets or extra tiles. Arrange the extra tiles so they end up in an area where they are less visible. Use a tile saw or carbide nipper if you must cut tiles to make them fit. Use spacers between sheets to keep the joints of equal size.
The trickiest job is smoothly applying thinset on the wall, then setting the tiles on top of it. If any tiles are slightly concave, apply more thinset to the back of the tile.
Tools you may need for your backsplash job:
- Pencil
- Tape measure
- Level
- Speed square
- Grout application trowel
- Rubber float to help spread grout
- Grout sponge
- Tile spacers to keep tiles straight and even on the walls
- Notched trowel to apply adhesive to walls
- Power drill
- Mixing paddle
- 5-gallon buckets
- Kneepads
- Safety glasses and earplugs
- Scoring cutter or wet saw
- Handsaw or jamb power saw
- A handheld grout saw