

As we close out the last day of 2023, let’s look back on some of the most popular topics homeowners inquired about during the year. Maybe they are topics you are most interested in, too.
Question: Is replacing a showerhead a do-it-yourself job?
Answer: Yes.
Luckily, it’s pretty easy to replace a showerhead. Even if your current showerhead “works just fine,” upgrading is a job that can save you money on your energy and water bills. With an upgraded showerhead, you can cut your water use anywhere from 25% to 60% by using less water, thus using less energy on hot water heating. Maybe it’s time to replace that water-hogging showerhead with a new model.
If you’re still using a showerhead installed before 1992, when all new models became low-flow, it’s time to switch. Here’s a test to determine if your showerhead is a water-hog:
Place a bucket or container marked in gallon increments under the showerhead.
Turn on the shower at the level you usually use to bathe.
Time how long it takes to fill the bucket with 1 gallon of water.
If it takes less than 20 seconds to fill one gallon, consider switching to an updated low-flow showerhead.
To replace the showerhead:
1. Turn off the shower faucets. There’s no need to turn off the water to the house.
2. Unscrew the old showerhead by twisting it by hand in a counterclockwise direction. Most heads are not screwed into place, but if yours is, remove the screws first. If it’s tough to remove because it’s old and corroded into place, you might need to use a wrench. Cover the jaws of the wrench with masking tape or place a soft cloth around the neck of the showerhead to prevent scuffs and scratches. Don’t throw the old head away until you know that the new one works.
3. Once you remove the old showerhead, you’ll see a threaded pipe in the wall. Clean the hard water buildup, gunk and dirt around it and dry the threads.
4. With plumber’s tape from a hardware store, wrap the threads in a clockwise direction. The tape will create a watertight seal between the new showerhead and the pipe, which will prevent leaks.
5. Attach the new showerhead by screwing it clockwise into the taped, threaded pipe. Tighten by hand.
6. Turn on the hot and cold faucets. Is the showerhead leaking? If it is, turn the water off and tighten it more.
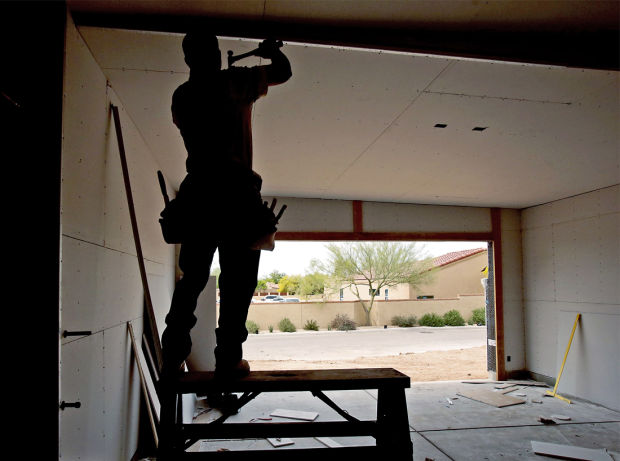
Q: What are some tips for hanging drywall?
A: When hanging drywall, always hang the ceiling first. Because this is the hardest drywall to hang, get a partner and go slow. Large cracks due to misaligned sheets are hard to repair because the extra mud required to fill them will constantly fall out and drop to the floor (or worse, down the back of your neck).
When hanging the drywall on the walls, always hang the top sheet first. Raise a sheet tight to the ceiling and secure it with a drywall nail at the top and bottom of each stud. Complete the top row throughout the room before proceeding to the bottom.
When hanging the bottom sheet, cut the drywall to fit around electrical j-boxes and plumbing rough-ins. Measuring from left to right, determine (to the nearest 1/8 inch) the horizontal measurements on the wall to the box location. Pulling from left to right, mark the exact location on the top edge of the drywall. Using a 4-foot drywall square and a pencil, transfer these marks to the face of the drywall. For your vertical dimensions, do not measure up from the floor. Instead, measure down from the bottom of the drywall that you already hung. Transfer this measurement, measuring from the top down. You will have a layout of the material to remove. Using a drywall keyhole saw, cut the drywall on your layout marks to accommodate the junction box.
Before laying the drywall against the wall, mark on the sub-floor the locations of each stud. This will make the nailing or screwing of the drywall much easier. Set your bottom sheet along the wall and lift it to fit snugly against the bottom edge of the top piece of drywall that you have already hung. For this lifting process, a wallboard kicker is extremely helpful.
Now that the sheet is tight and fits the junction box, use drywall nails to attach the drywall at the top and bottom of each stud.
Q: I don’t use my swimming pool anymore. Is there a way to cover it permanently?
A: It might not be a good idea to permanently fill or cover an old swimming pool.
A better solution is to build a temporary deck over your swimming pool so you can remove it if you decide to sell your home later. A pool can add value to your home if you sell.
Plus, if you fill in a pool and hide it under the dirt, you must disclose that fact when you sell your home. The excavation costs for a new pool where the old one was could be astronomical.
I recommend covering your unused pool with a deck made from a composite material. Composite is a wood-polymer lumber made from wood waste mixed with reclaimed plastic from shopping bags and plastic film. Composite wood is substantially more durable than the 100% vinyl or plastic wood products on the market. It’s also virtually maintenance-free. When you want to use the pool again or sell your home, you can have the deck removed and resurface the pool.