Growing your own plants from seed is a great way to save money. For the cost of a single transplant you can purchase a packet of seeds that can grow into 20 or 30 plants. You can also grow your own plants from seeds in your garden — making them free!
Besides these obvious benefits, it’s also incredibly rewarding to see these tiny living things emerge from the soil. It’s fun for kids, too.
Growing from seed can seem a bit intimidating, but it needn’t be. You just need to know the tricks. It also helps to know a few basic terms.
Direct sowing: Planting into the soil outdoors rather than planting into little containers first and then transplanting outside. Most wildflower seeds are like this. I’ve also had good luck with direct sowing carrots, radishes, beets, chard, peas and beans. This process is pretty straightforward and relatively hands-off. Make sure your soil has lots of good organic matter to hold moisture and nutrients.
Damping off: This is when your little seedlings seem to be doing great, and then their stems wither and die just at the level of the soil. It’s caused by a soil fungus. Toss out that soil, and make sure you use sterile soil with the next batch of seeds.
Hardening off: The process of getting seedlings that were grown indoors used to outdoor conditions.
Pricking out or transplanting: This is the process of moving your seedlings to bigger, individual pots after they have germinated. This allows each seedling to have more resources and helps avoid overcrowding issues such as damping off. If you have sowed only one seedling in a given pot, you don’t need to do this.
Stratification: Refers to the pretreatment of seeds with cold (usually by putting them in the refrigerator for a couple of weeks) to mimic a cold winter. Some seeds require this for germination.
Scarification: The process of scratching or notching the seeds’ outer coat to encourage germination. This mimics the natural processes seeds go through as they are eaten by animals.
Seed leaves: The first set of leaves that emerges from a seed. They are usually narrow, symmetrical and oval. They are also called cotyledon leaves.
True leaves- These emerge after the seed leaves, and look like miniature versions of the plant’s normal leaves. They can perform photosynthesis, and once they emerge the plant no longer has to rely on the seed for its nutrients.
Thinning: The process of pinching off or pulling out seedlings when too many have germinated in the same spot.
What you will need for indoor sowing
- A space to grow the seeds, with a flat surface and ideally nearby water and power supply (for grow lights). You may also want a little greenhouse space that is sheltered if you don’t have room inside your house.
- Small containers or trays. Yogurt cups are fine, and I’ve also used plastic trays from microwaveable meals. Make sure you punch drainage holes, though! You can also purchase seed growing trays, which can be used over and over for many years. These trays allow you to sow many seeds per tray; after they germinate you will have to separate them out and transplant them into bigger pots. I don’t recommend the expandable seedling pellets; they are extremely small and tend to dry out in our climate very quickly.
- Fresh, sterile soil. A good recipe to start with is two parts garden (or purchased) compost, two parts coconut coir and one part perlite.
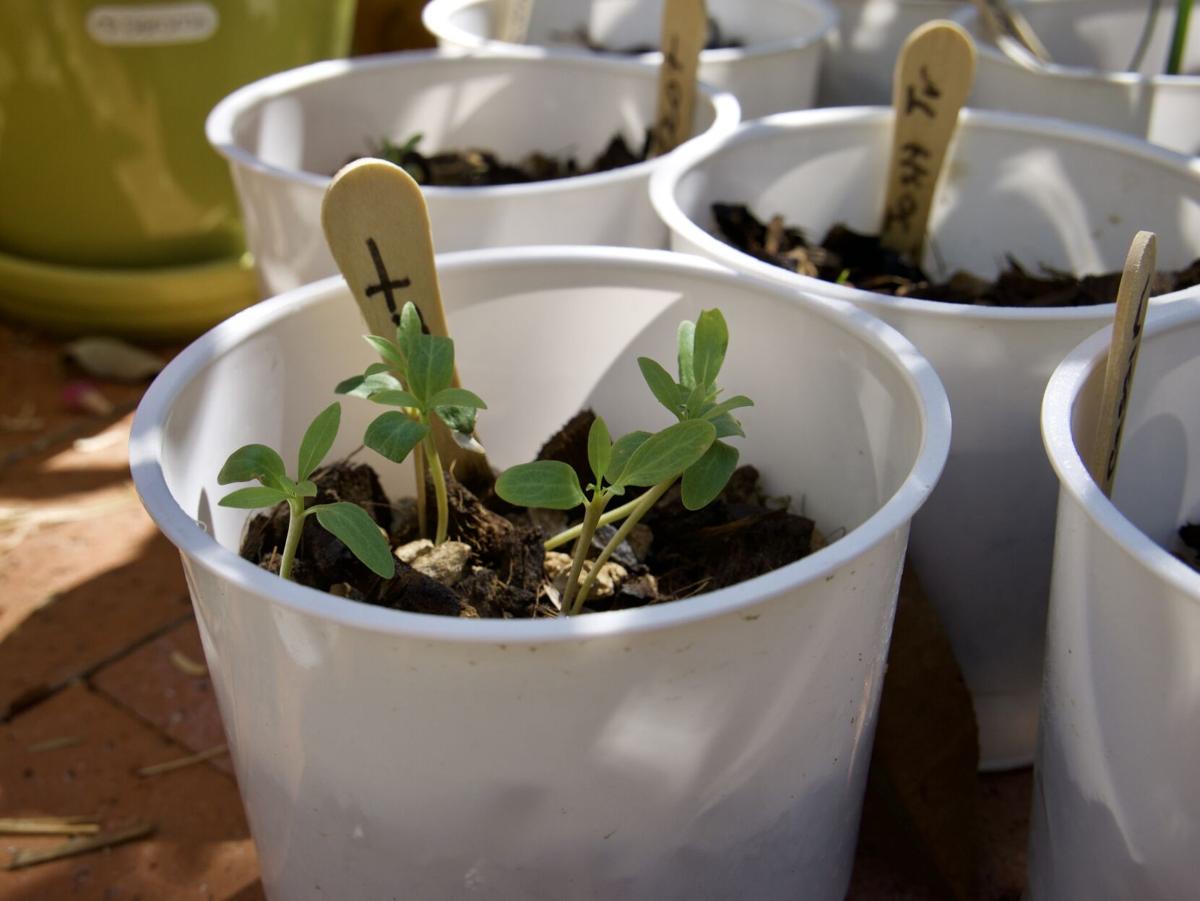
- Labels. This is a great use for popsicle sticks. I like to use a Sharpie since the ink tends to last a while.
- Constant moisture until germination. This is challenging in our desert climate, but using clear plastic covers over the trays can help. Check your trays at least once per day to make sure the soil isn't drying out.
- Gentle air movement. This keeps fungus and other diseases from taking hold. A gentle fan several feet away from the trays should do the trick.
- Light. Ideally your seeds and seedlings (once they emerge) should get around 12-15 hours of light per day. Our Tucson sun is usually too strong, even indoors, so shade them a bit if they’re in direct sun. You can also use grow lights, which will give you a more controlled light source.

Seed packets have lots of useful information regarding when and how to sow.
Steps to sowing indoors
1. Read the packet. It will tell you when to start seeds, how long until the plant matures, and what type of conditions the seeds like. It should also tell you if the seeds require any scarification, stratification, or other pretreatment to germinate. It will also have a date on it, so that you know how old the seeds are. Seeds can last for many years — some for centuries! — but generally speaking the older they are, the lower the germination rate will be.
2. Fill your containers with soil and moisten the soil.
3. Plant a seed twice as deep as it is wide. Some seeds are teeny, and you can just sprinkle them over the soil and then sprinkle a tiny bit of soil over them using a wire colander (like sifting powdered sugar over them). With larger seeds, I like to use a pencil, plastic fork, or similar implement to create a tiny hole in the soil.
4. Label your containers so you know what you planted. Trust me, you will not remember.
5. Water very gently so you don’t disturb seeds. Your soil should be moist to begin with so that you can mist it with water to wet it once the seeds are planted. You can also moisten soil by dipping the seed tray into a water container so water is drawn up through the holes in the bottom.
6. Cover with a clear plastic cover to keep moisture in. Once seedlings emerge, you can take the plastic off. Make sure you check them at least daily to ensure the soil is staying moist.
7. Transplant your seedlings into larger pots once their leaves have emerged. This is referred to as “pricking out” or transplanting. You can use a plastic knife as a miniature spade. Gently grab a leaf and use the knife to help lift the tiny roots out of the soil.
8. Keep moist and feed regularly with liquid fertilizer once a week.
9. Harden off outside over a period of one to two weeks to get the plants used to growing outdoors. Start this around a week before the last frost date. Keep them in a sheltered spot so they don’t get too much sun or wind.
10. Once your seedlings have three or four true leaves and have been hardened off, it should be safe to transplant them into your garden or outside veggie bed.
Where to get your seeds
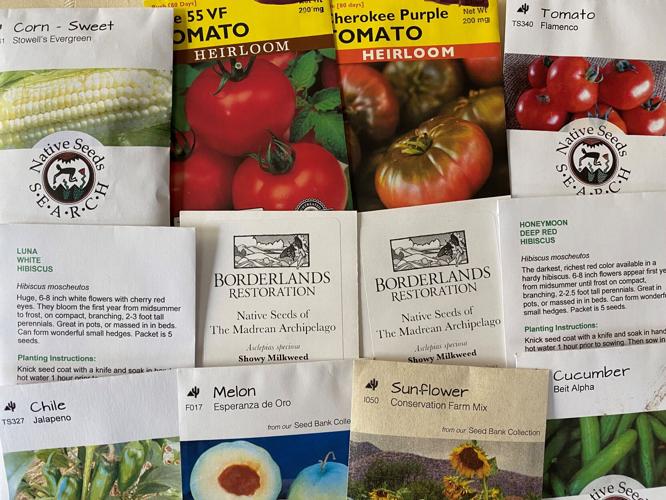
Most nurseries will have an area where they sell seed packets. Be sure to choose organic ones that have not been treated with pesticides, particularly for food plants or pollinator plants. If you want to be sure you're getting good quality seeds that are well-adapted to our conditions, check out these local resources:
- If you’re looking to grow food, Native Seed /SEARCH is THE place in Tucson to get native-adapted seeds for growing food in the desert. You can also purchase seed-saving supplies here if you want to save your own seeds.
- Borderlands Restoration has a great selection of native plants seeds, including milkweed and wildflowers.
- Spadefoot Nursery is another local place to get wildflower and native plant seeds.
- Be sure to check out your local library, too! Pima County libraries have seed libraries which you can “borrow” and plant, and then return the seeds from your plants the following year to keep the supplies going.