There is a vortex in all of our homes that sucks up useful objects, disappears them forever.
For some, the vortex lives right by the shoe rack or maybe even sits just below where you prepare food.
Sometimes, when you're feeling brave, you peer into the spiral abyss in hopes of spotting a pair of scissors or AA batteries.
We're talking about that mystery box known as the junk drawer.
What may have started as a space to store your random odds and ends can easily turn in to a place where you keep items that will never be used again.
We get it though. It's hard to keep track of whatever is in there, and sometimes you have more trash than treasures living in the vortex. But it's a new year and one easy thing you can do to put a little spring in your organizational step is to clean out that junk drawer.
Here are five ways to make your drawer less junky and more functional, with help from the family junk drawer of #ThisIsTucson writer Angela Pittenger.
For all you visual learners out there, we featured this project in a recent This is Tucson Instagram story. Here are a few excerpts from that post.
1. Decide what the drawer is for.
This might sound sound like a weird question because, "The drawer is for my junk, duh." But asking yourself what the intention of the drawer is will help you figure out what to keep and prevent more crap from accumulating in that space in the future. We got this hot tip from Refinery 29's Bea Copeland.
Is this drawer for kitchen supplies? Loose remotes? Craft items? Or just a place to keep all of your Saved By the Bell trading cards?
For the Pittenger family, they wanted a space to store all of their phone chargers and cords when they weren't using them, as well as a spot for office supplies.
2. Dump everything out.
And we mean EVERYTHING.
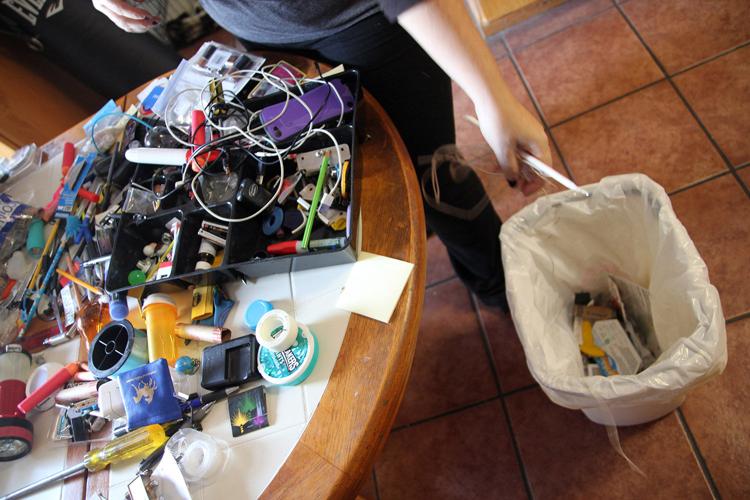
Clear off a space in your home, like the kitchen table or even the floor, to place all the items removed from the drawer. This will make it easier to go through things quickly and efficiently.
The goal is to complete this project before you run out of steam, which in lazy person mode is about 25 minutes.
3. Trash anything you don't need.

You'll be surprised how many old receipts, sticks of gum and partially disintegrated rubber bands you'll find just at first glance. Start by removing these obvious culprits and work your way to bigger things you can't seem to part with: old manuals, broken items and supplies you "needed for that one thing" but will never use again.
If you're having a hard time deciding what to keep and what to throw away, evoke the wisdom of cleaning extraordinaire Marie Kondo and ask yourself, "does this item bring me joy?" or perhaps in junk drawer terms, "is this item still serving a purpose?" If the answer is no, then to the trash it goes.
4. Put away items that already have a home.

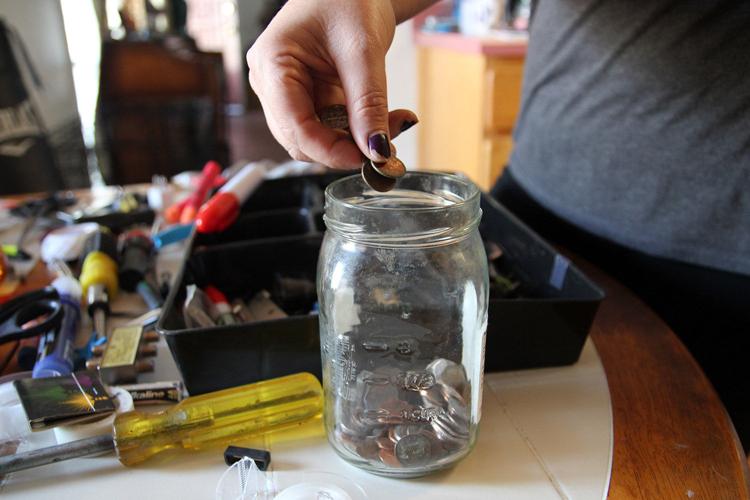
A wallet or change jar is a perfect place for coins found in the junk drawer.
The junk drawer can turn into a holding place for a lot of items that already have a spot in your home. A few hairpins here, a couple pennies there can get sucked into the vortex without you ever realizing it's happening. Some of the most common items that suffer this fate are tools (like screwdrivers, wrenches and hammers), loose change and building supplies, including nails and screws. Be the cleaning hero you know you are and reunite these items with their friends. Put the tools and building supplies in the tool box, the loose change in your wallet and get ready to organize.
5. Organize the things you have left and put everything back in the drawer.
By this step you should see a dramatic decrease in the number of items that are left to put away. The only things that should be remaining are the things you want in the drawer. Start by sorting things by type. For us it was rounding up all the pens, chargers and paper clips left in the pile. Then it's back in the drawer.
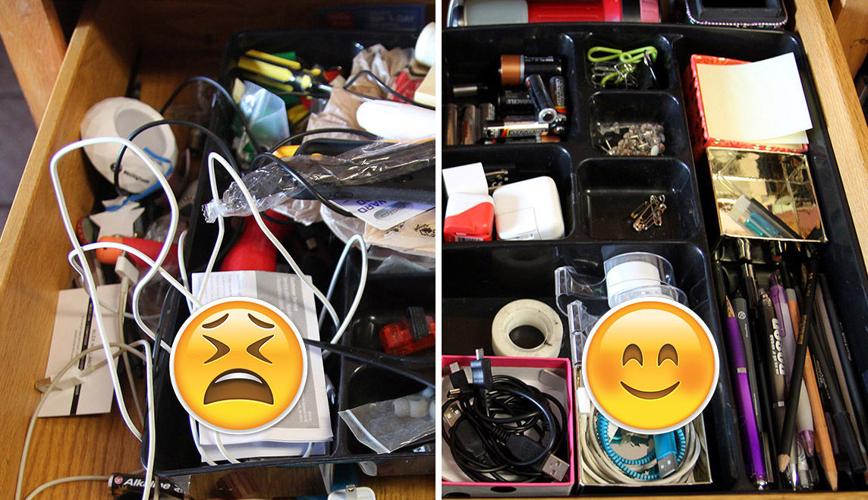
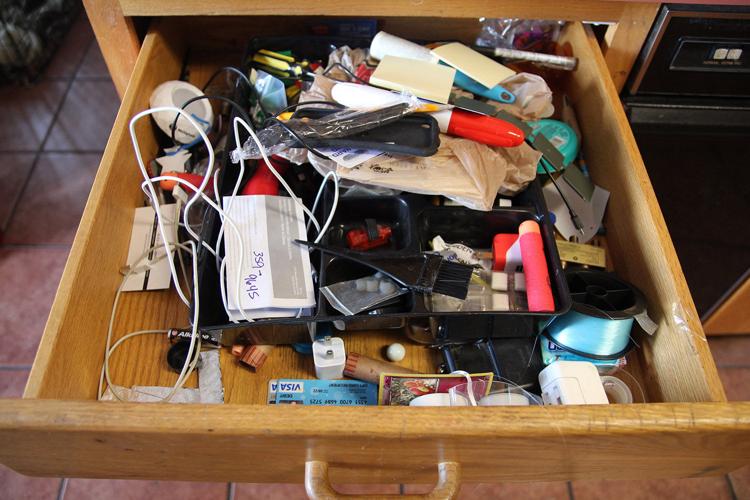
Before

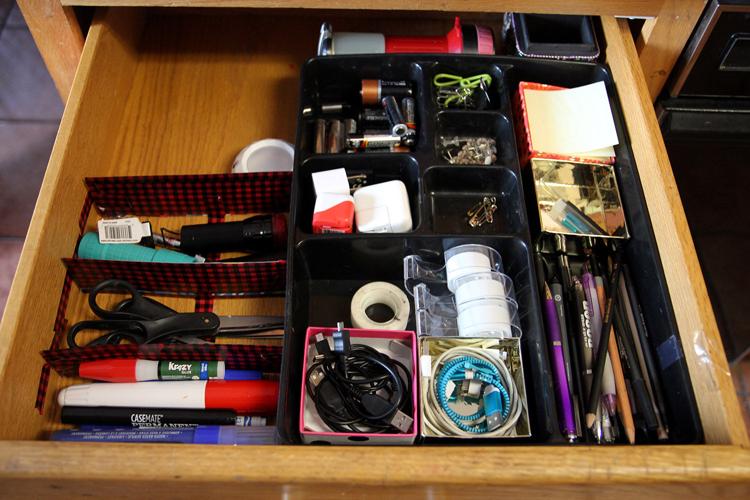
And after!

End result. There is nothing junky about this drawer anymore!
In Kondo's book "The Life-Changing Magic of Tidying Up" she suggests using containers and small boxes you already have in your home to help organize stuff.
Because we already had a large plastic organizer that lived in the drawer, we went with that. We also added a few gift boxes Angela received during the holidays to help create smaller storage sections.
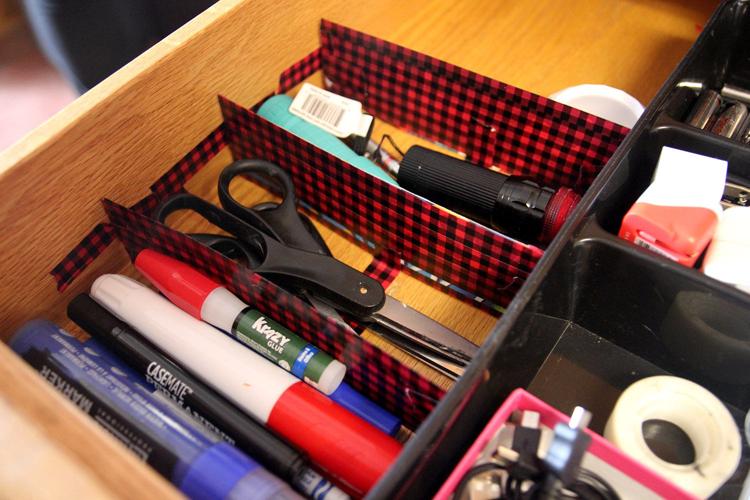
For extra space along the side of the organizer, we cut up a cereal box in to 7-inch by 2-inch strips and used them to create dividers we then taped to the drawer with washi tape.

We used the cereal box and washi tape to create dividers to store our longer items.
Now Angela's family has a spot to store their large markers and scissors.
The final result should be a happy and easy-to-use space.
Though we can't promise this drawer will never get cruddy again, because we all can't be Danny Tanner, hopefully it will serve more of a function in the home instead of being a dumping ground for random household things.
Now if only the rest of our homes looked like this!


