Designing dreamy, desert decor for your wedding doesn't have to cost big bucks.
Actually, we did it with paper.
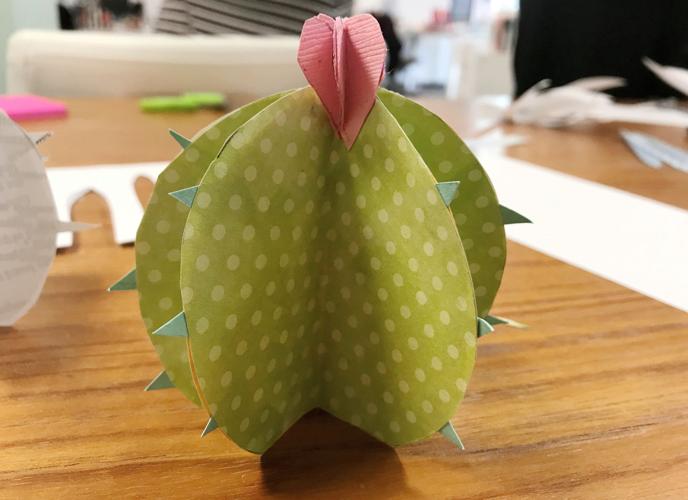
Using cute scrapbook paper, glue sticks and scissors, we created two, centerpiece-worthy cacti and an agave, complete with dainty, pink blossoms and prickly spines.
And we're not even that crafty.
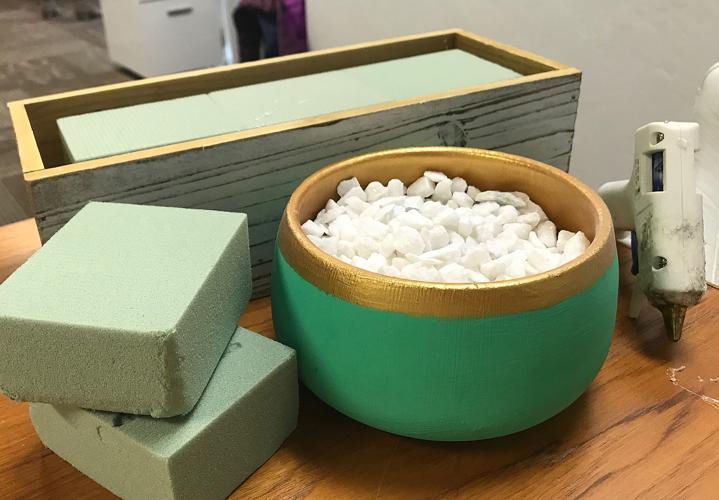
We used a glue gun, craft foam and white rocks to secure our cacti creations in a container we found at Michael's.
How much it cost us to make one centerpiece

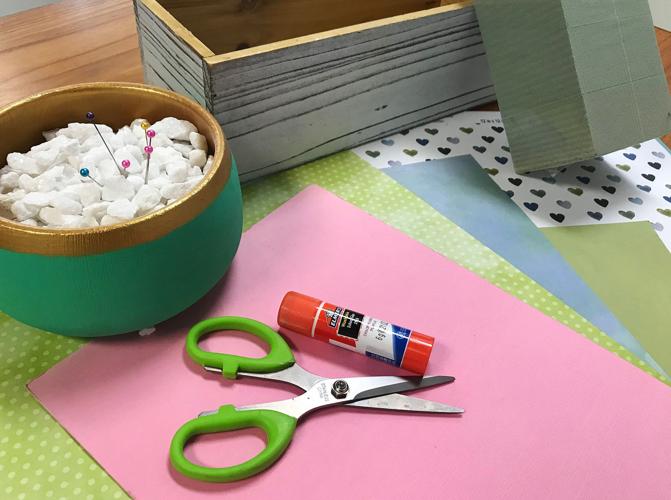
These are all of the supplies we used to make our cactus centerpiece.
Pro tip: If you buy larger quantities, you can definitely decrease the cost per centerpiece. We'd also suggest sourcing your containers from a thrift store or waiting for a big sale at a craft store. You can also take advantage of the weekly coupons for those craft stores. They're usually for about 40 percent off. Find them on apps like Shopular or directly from the store's website or app.
We also used some craft supplies we already owned, such as a glue gun and push pins.
Total cost per centerpiece: $17.69.
Here's how it broke down:
$6.91: 9 pieces of scrapbook paper at Michael's
$5.39: 1 whitewashed container at Michael's (it was originally $8.99. We used a coupon).
$2.39: Pack of 3 glue sticks (it was originally $3.99. We used a coupon).
$2: 2 blocks of craft foam at the Dollar Tree
$1: 1 bag of white marble stones at the Dollar Tree
How we made the container

Gotta love the dollar store for things like foam blocks and rocks.
OK, we bought the container. But whatever container you use (terra cotta pot, wooden box, etc.), the same principles apply. We don't recommend using see-through containers. You need them to hide some ugly, behind-the-scenes stuff.
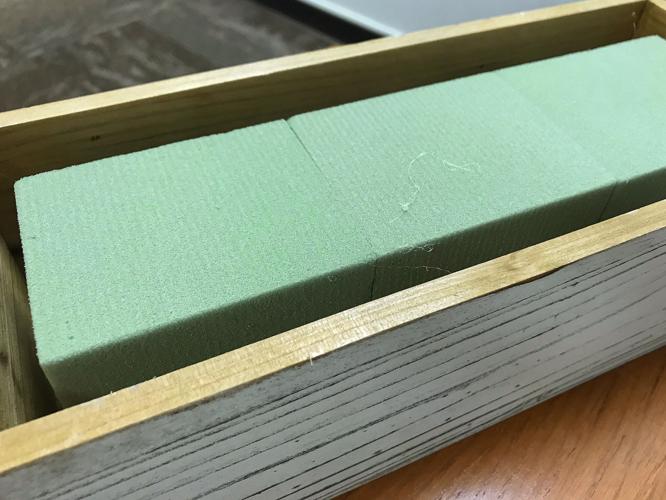
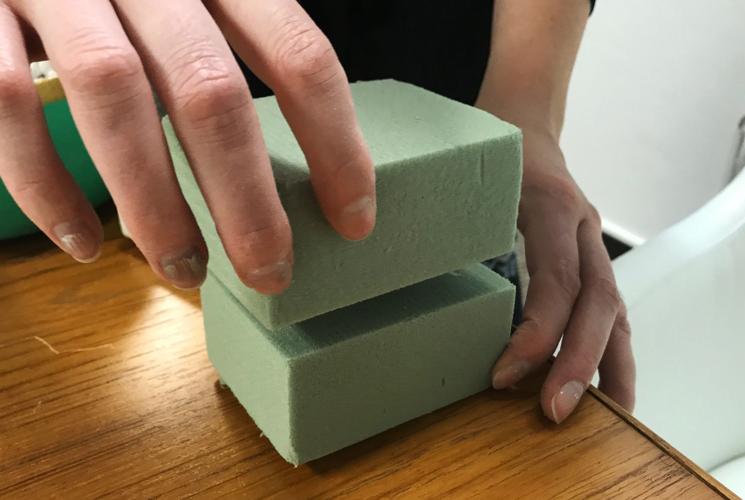
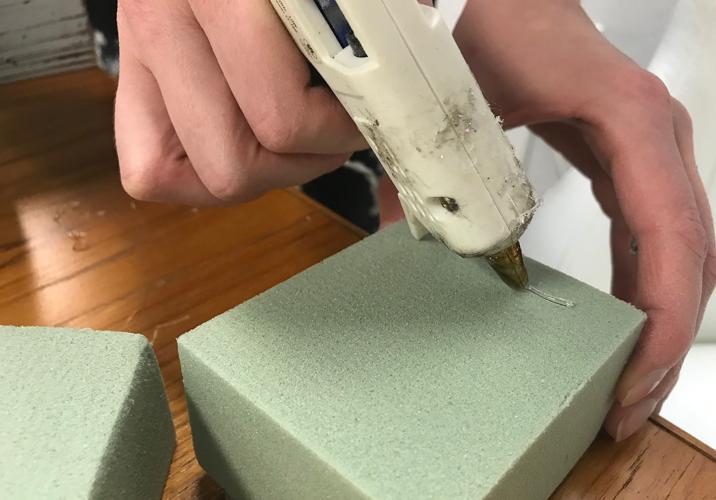
1. Use a hot glue gun to secure craft foam to the inside of your container. Stack enough in there that your cacti will be elevated almost to the brim. You still want a slight lip, so that the rocks stay in place.

We glued two blocks together to make it the right height.
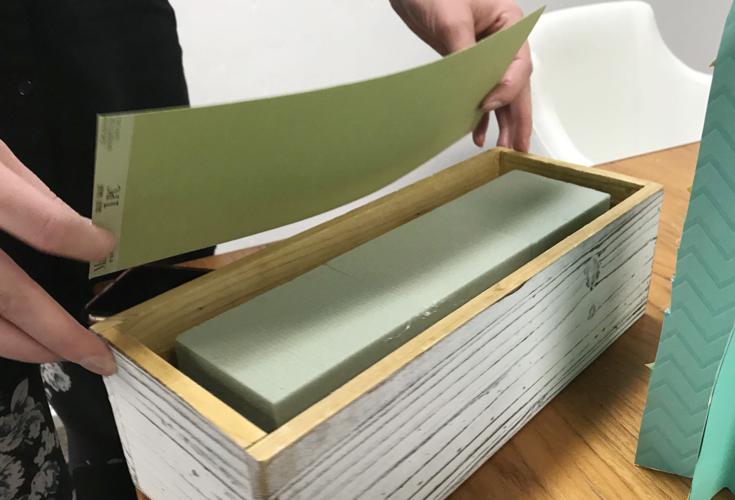
2. Measure a piece of cardstock or paper and then glue it to the top of the craft foam so you have a solid surface within the container. If your craft foam doesn't cover the container's full area, make sure the paper you use is sturdy enough that it won't bend when you add a handful of rocks in the last step. We used cardstock.

Adding paper gives the container a flat surface to attach the cacti to.
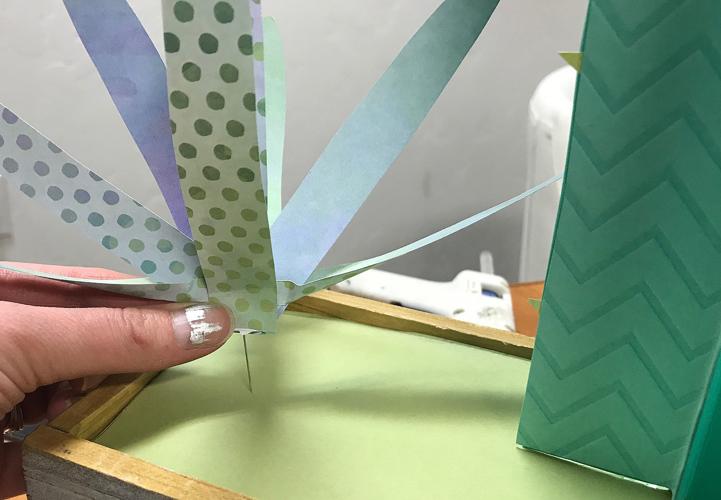
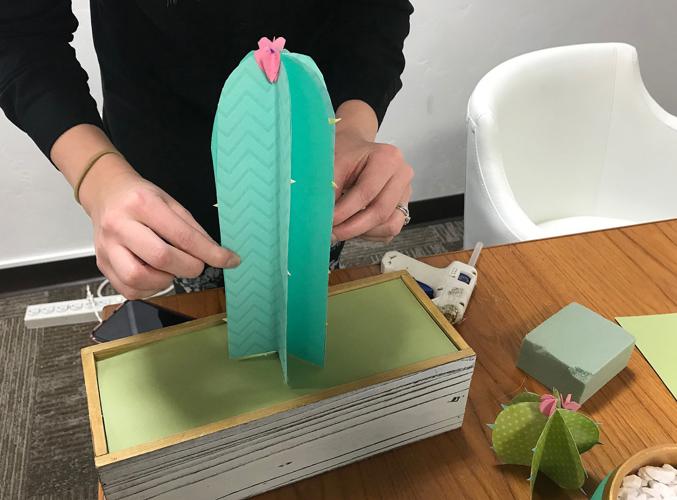
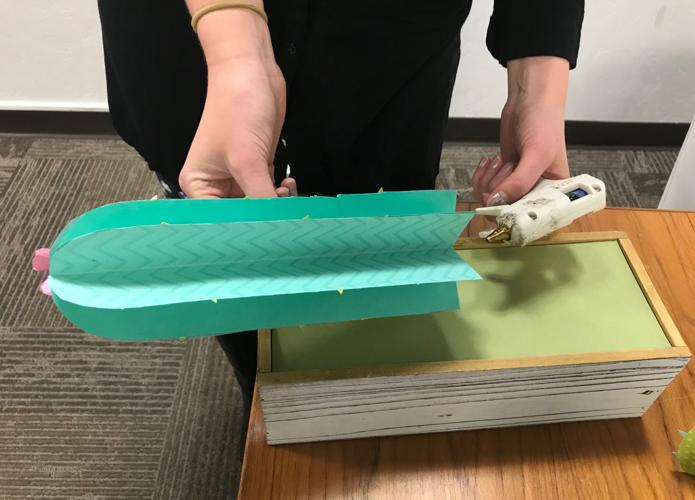
3. Attach your barrel cactus by gluing it to the paper. Use a push pin to secure the agave.

It's like gardening. Without the dirt.

Use a pin to attach the agave.
4. Scatter rocks around the base of the cacti. Go crazy here. For a more secure centerpiece, you could glue the rocks in place. We didn't.
Pro tip: You can usually only use one coupon at a time, so get your friends, your partner and anybody else you can rally to get the coupon and each buy a container of your choice.
How we made the agave
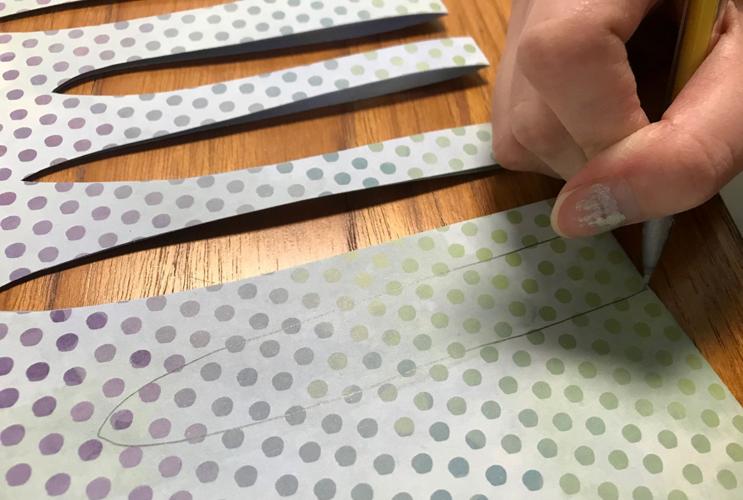
1. Pick a piece of double-sided scrapbook paper for this one. Fold it in half vertically. Now draw six rectangles that end in a rounded point, with the flat bottom of each on the crease. These are your agave leaves.

Draw agave leaves of varying lengths with the base on the fold. This will give you several leaves with points on both sides.
2. Cut out your agave leaves and then fold an extra scrap of paper multiple times to create a small, tight rectangle about as thick and long as your pinky. This is going to be the center of the agave and where you glue your individual leaves. You could also use half of a wooden craft stick for this.
3. Cut four of your six agave leaves in half. You will still have two, full-length leaves, plus eight smaller leaves.
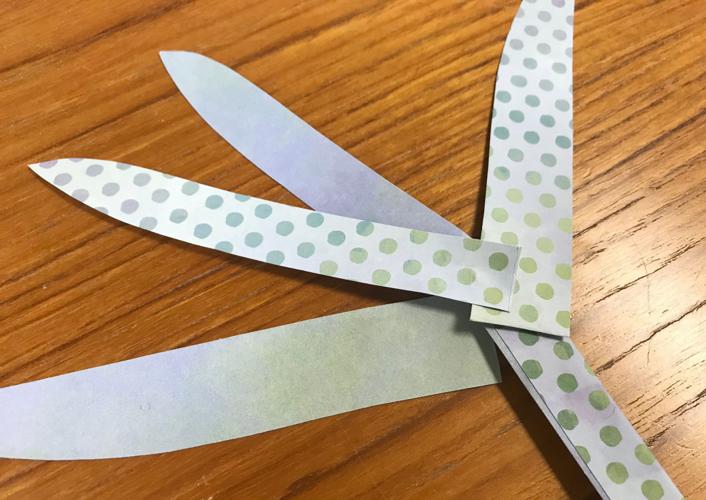
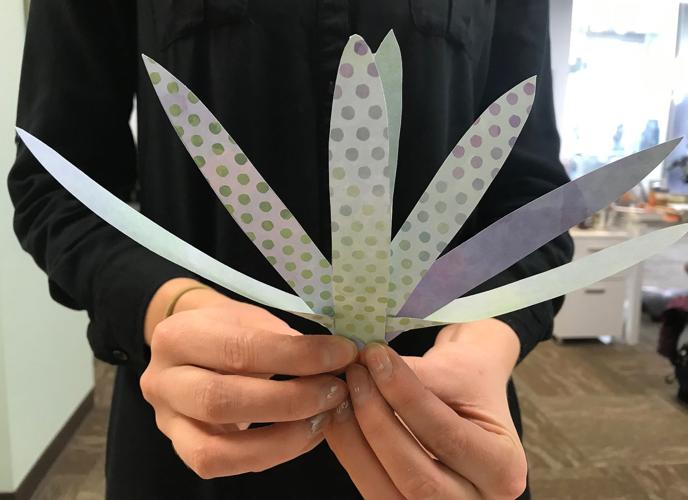
4. Use a glue stick to glue your individual agave leaves to the rectangle in the shape of a fan, alternating sides. You don't have to use all eight leaves if it gets too crowded.

Start gluing your individual leaves to your paper rectangle or Popsicle stick, alternating which side the leaf is glued to.
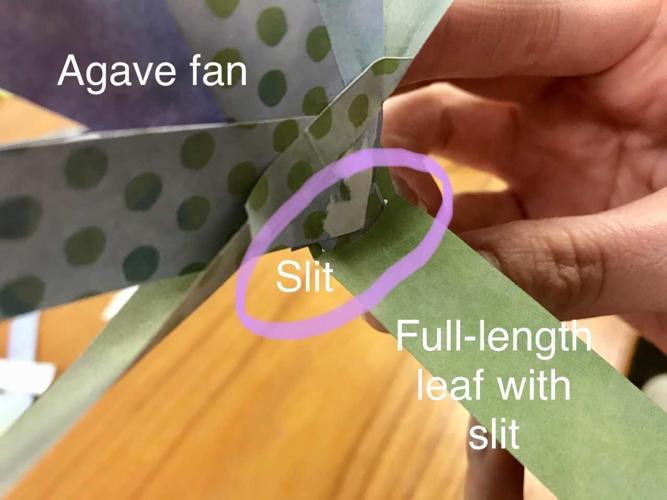
5. Cut a small slit in the center of your two remaining, full-length leaves. One slit will be parallel to the length of the leaf and the other will be perpendicular and along its fold. The goal is to place your agave within each slit, so the full-length leaves form a cross at the bottom of the fan.

Cut perpendicular slits in the two, full-length leaves you have, and then slip your Popsicle stick or paper rectangle into each, so the leaves form a cross at the bottom of your agave.
6. Glue the sides of these full-length leaves to the base of the agave, and then use your fingers to gently fold the leaves up. They won't go up all the way, but you should be able to get them to at least bend slightly.

The full-length leaves added at the bottom will add another dimension to your agave.
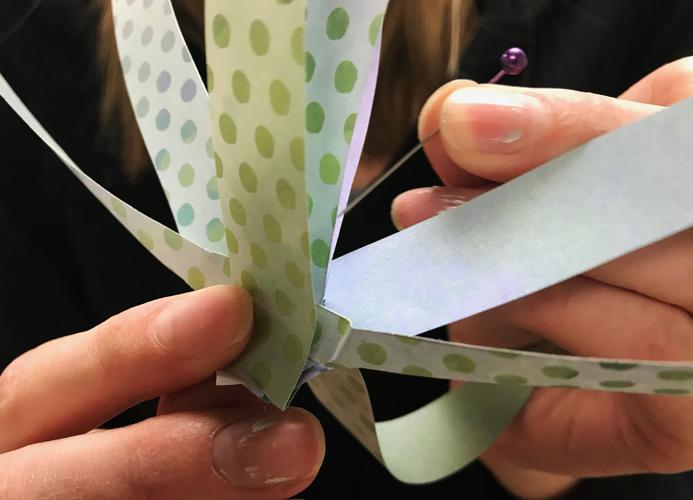
7. Use your fingers to give the rest of the leaves a slight, inward curl. Don't go crazy, and don't use scissors. That will make the bend too extreme. This may take some finessing.
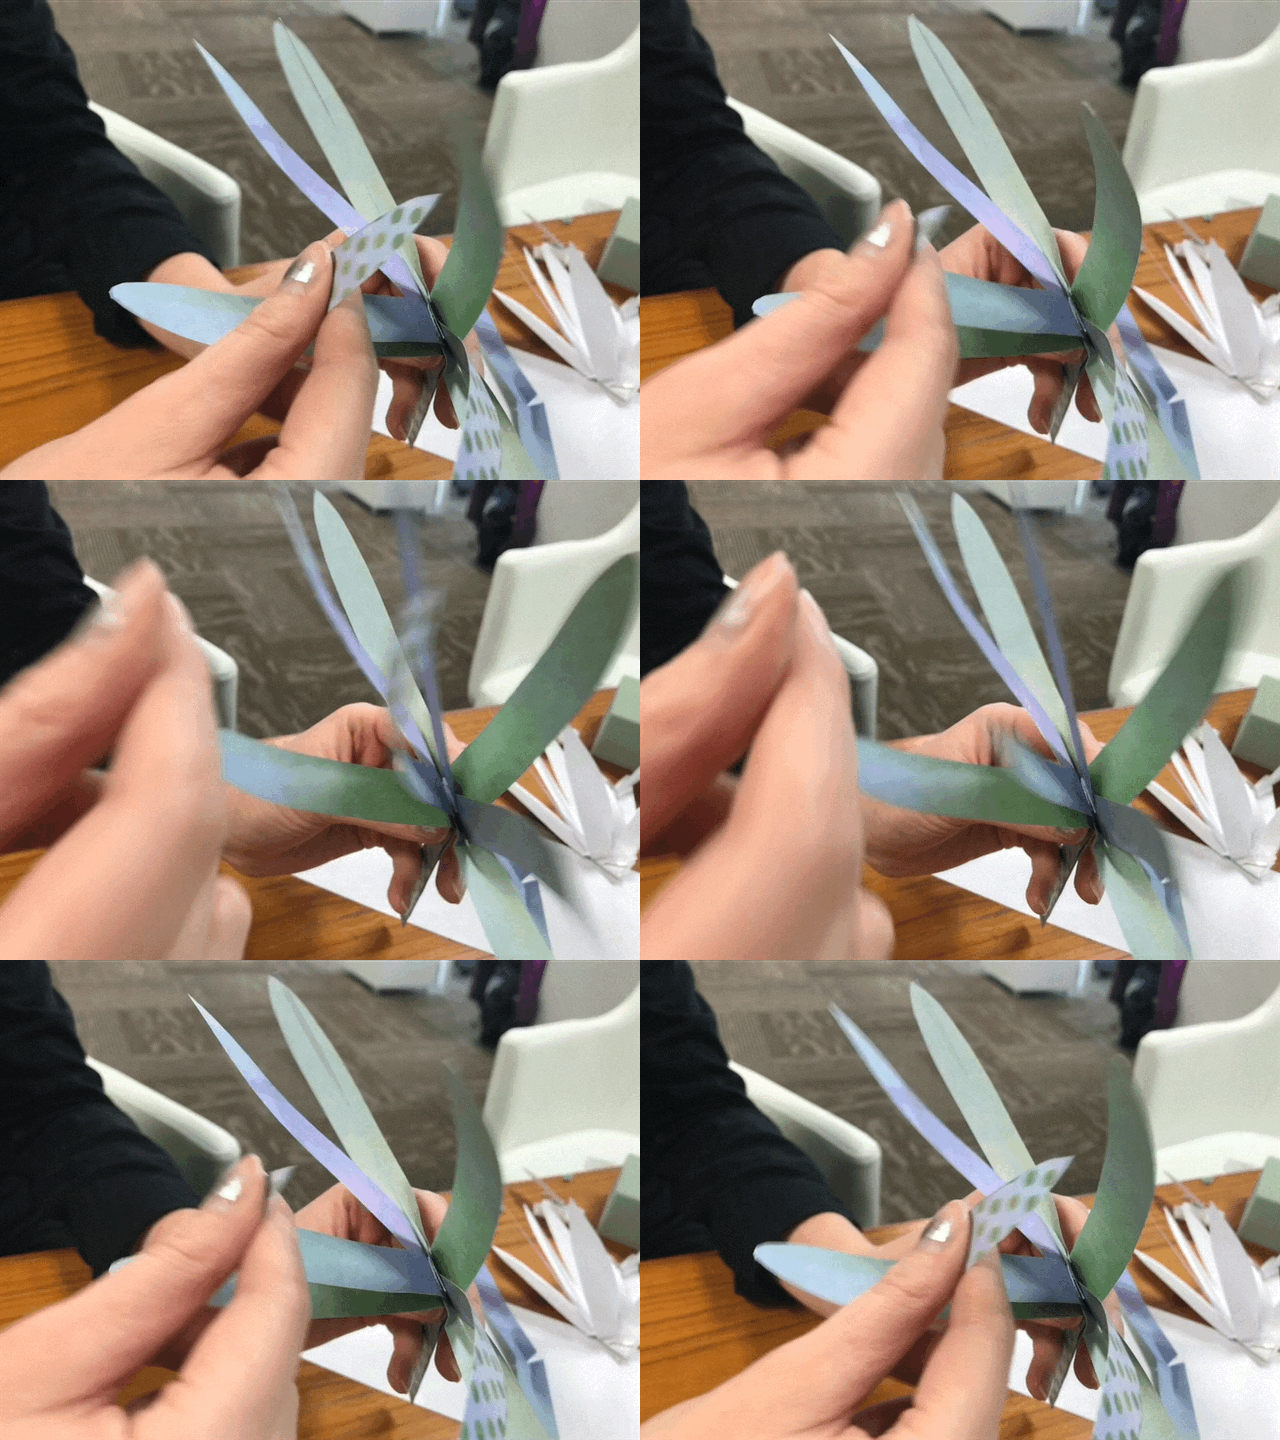
Use your fingers to gently curl the leaves.
8. Once you're happy with the shape of your agave, use a pin to stick your agave in the craft foam.

How we made the barrel cacti
The short and tall barrels are made in the same exact way. The only difference is the shape, so we'll just include one set of instructions.
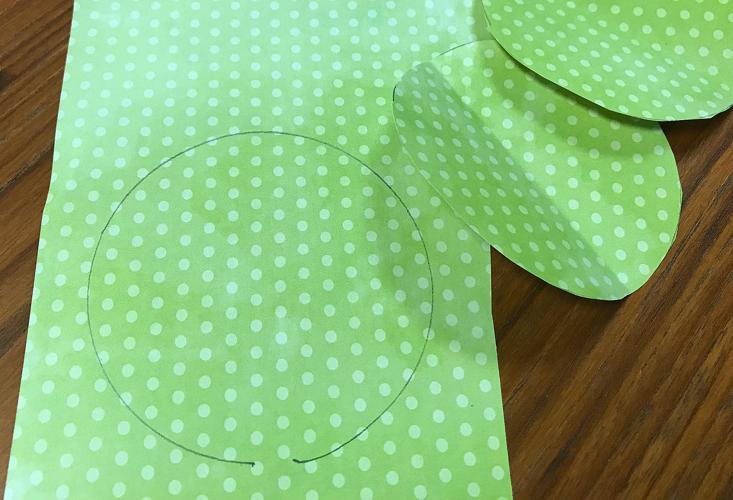
1. Pick a piece of scrapbook paper and draw 5 or 6 circles, about 3" each. We recommend tracing circles so they're exactly the same. Water bottles or cups work. We used a ribbon spool. If you're making the tall barrel, the shape is a long oval about 6-7 inches tall.

The first step in making your very own paper barrel cactus is tracing or drawing circles.
2. Cut out your circles (or ovals) then stack them on top of each other and cut straight across about a quarter to half an inch from one side. This will give your cactus a flat edge to stand on.
3. While they are stacked, fold them all in half, making the fold vertical to the flat edge of the circle.

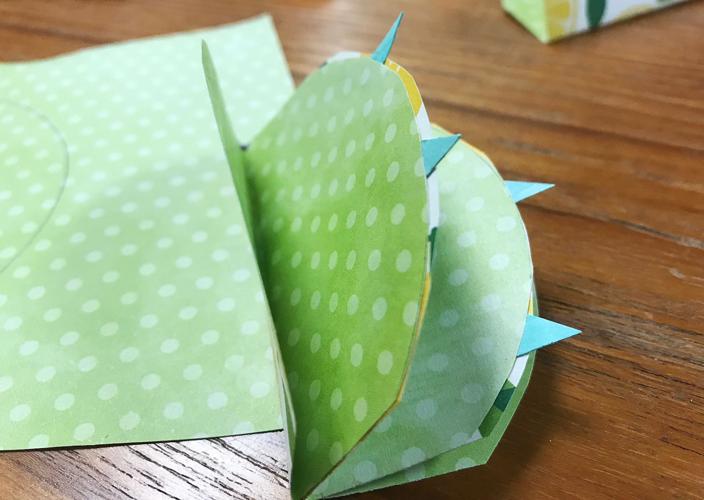
Glue the sides together with the folds touching in the middle. It'll kind of look like an open book at first.
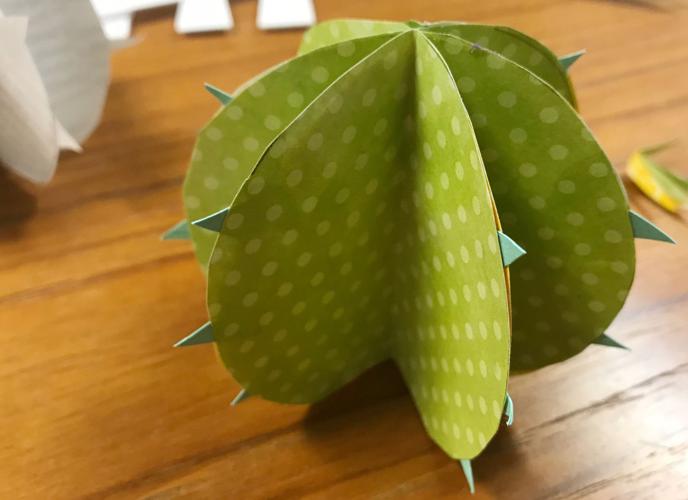
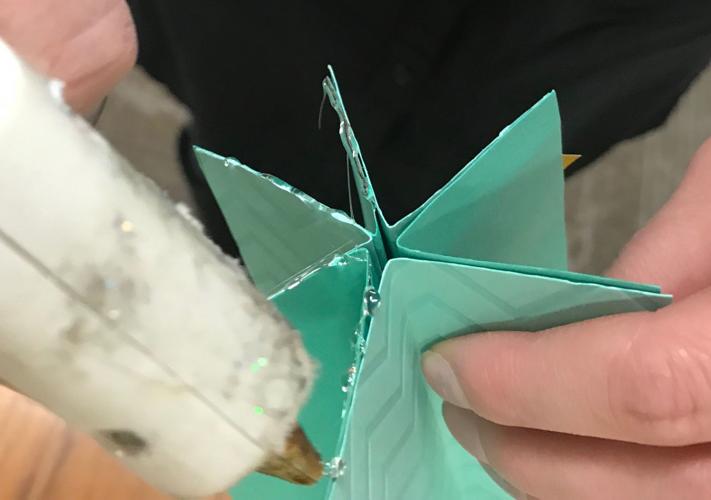
4. This is where the magic happens. Using your glue stick, secure the sides of the folded papers together with the seam in the center. Make sure the flat edges are on the bottom. Continue doing this until all of the pieces are glued together making a barrel. When it's all glued together, the bottom of it will kinda look like a star.

Ignore the glue gun in this pic. We just want to show you how the bottom of a barrel cactus will look when the pieces are all glued together.
Optional: Cut little pointy triangles out of a different colored paper. Before you glue sides together, stick the triangles there to get the effect of cactus spines.

All it needs is a flower.
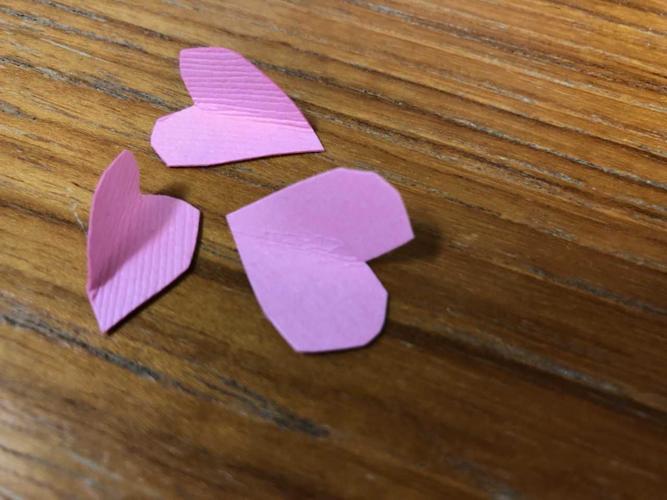
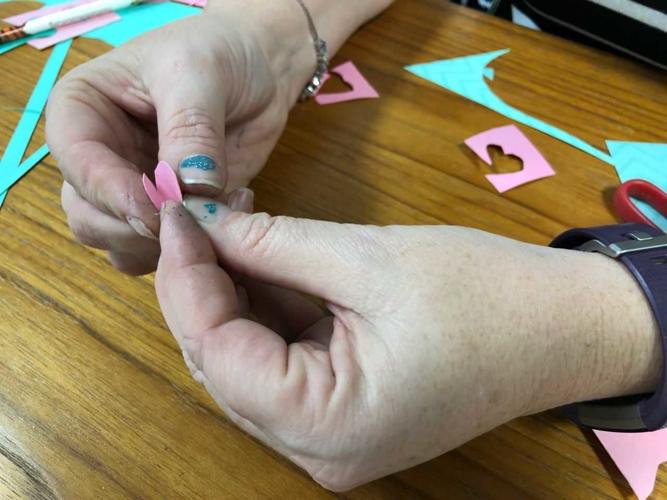
5. Cut three small heart shapes using a different paper. We like pink. Fold those in half lengthwise and glue the sides together just like you did the cactus. Then fold it in half and glue it into the crease of the cactus. Repeat on the other side for flowers.

Hearts should be no bigger than an inch each.

Fold each heart lengthwise then glue them together like you did the cactus.

Awe. So cute.
Like the Knot but for Tucson and for free. This is where you'll find everything you need to plan your Tucson wedding. Get tips, share ideas an…


